Success! My Mavic Air 2 finally arrived this past week, and I unpacked it, set it up and did my first test flight.
Unboxing and Setup
Unboxing the drone was actually really easy. All you have to do is
- Give batteries and remote an initial charge (probably a goof 50% plus because it’ll need a firmware update.
- Connect your phone/tablet to the remote.
- Put drone battery in drone until it clicks.
- Turn the remote on and open the DJI Fly App
- Turn the drone on, and it should connect!
In my case the drone didn’t connect, but a quick google search showed that the issue is common – the remote should be linked to the drone but frequently isn’t. I followed the manual’s instructions and it took all of a minute to connect and pair (and I haven’t had an issue since. I should also note, there are fine details on all those steps (that’s the short version), but the manual and the DJI Fly app videos do a great job explaining it.
Once I had everything connected, I did a few other setup steps as well:
- Updated the firmware and fly database (this took about 10 minutes)
- Put the propellers in (after removing battery and shutting everything down). I was super paranoid about doing this wrong, but it’s pretty straight forward if you follow the manual, just snaps right in. Make sure you follow instructions on which propeller type goes in which slot (there are 2 types).
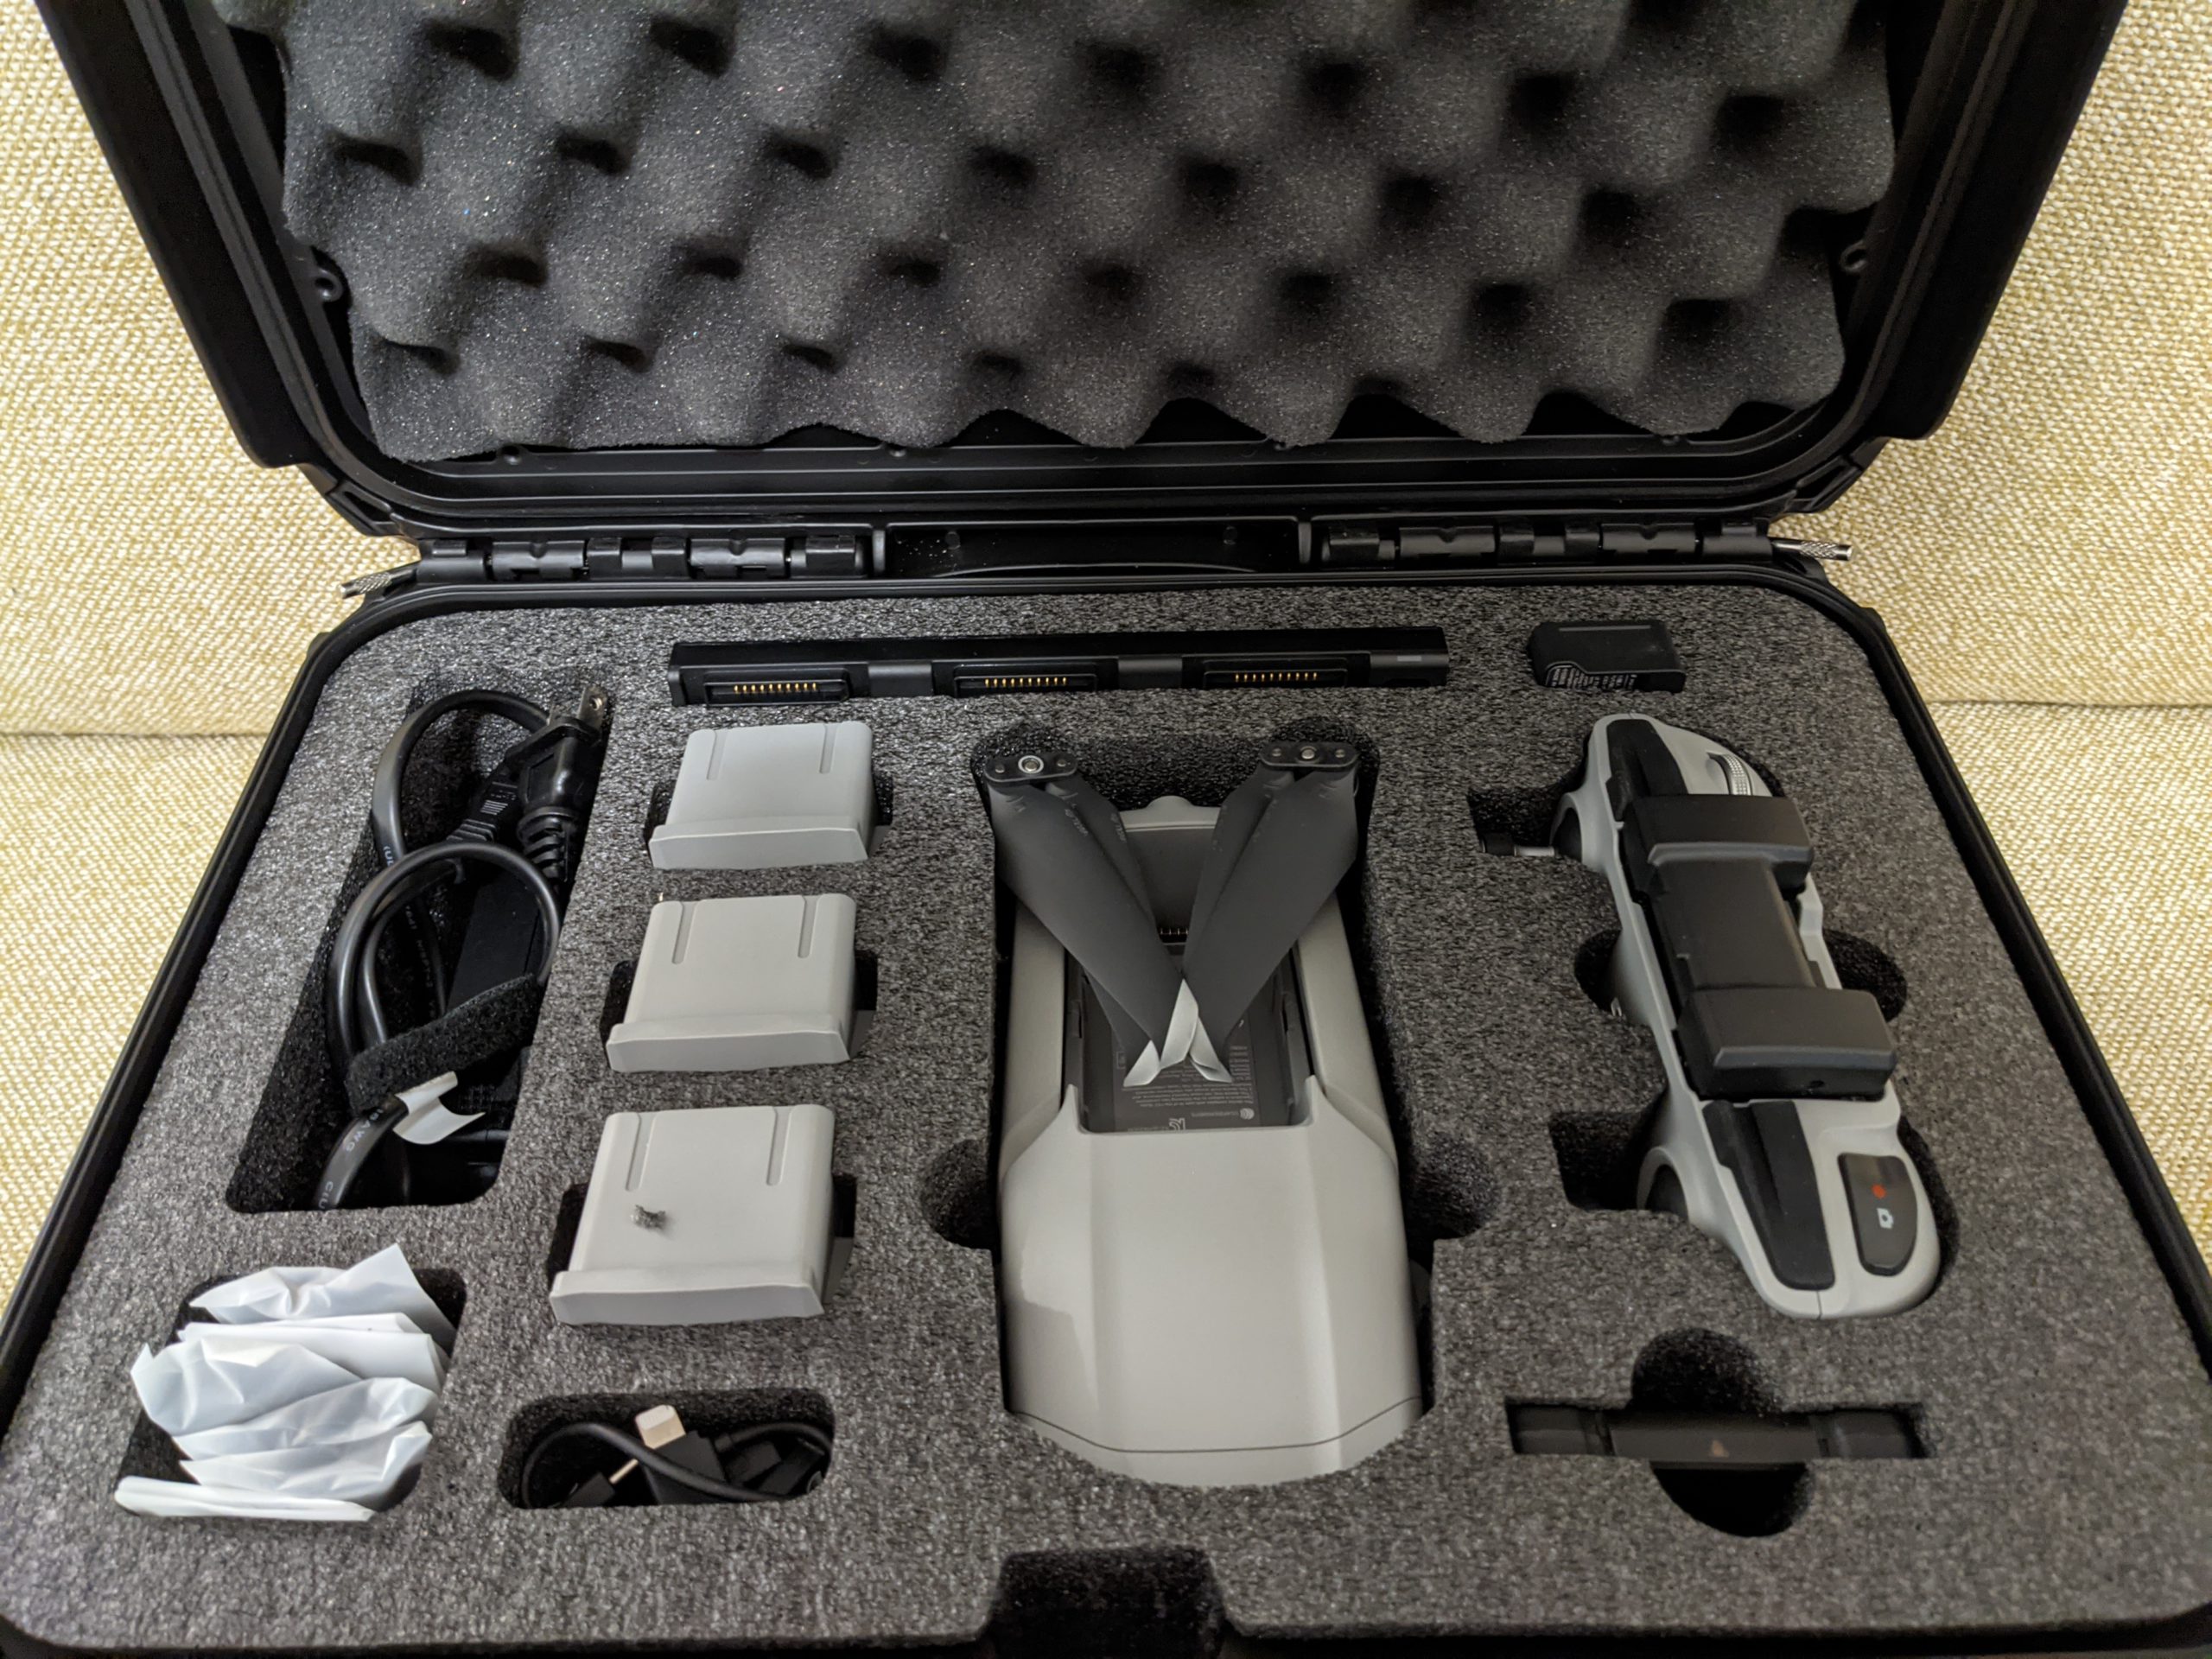
I also bought a few accessories in addition to the drone:
- Fly more with DJI Care Refresh pack – can look it up, but comes with a few extras like extra batteries, charging hub, etc.
- Ipad Mini – I was considering the smart controller, but some advice convinced me I’d regret the absence of third party apps. Something bigger then a phone is nice to have, and DJI ships Android as a side load app which I didn’t want to deal with.
- Tablet holder – For the ipad mini.
- USB C to IOS – Longer cable for tablet.
- Nanuk case – I ordered this for travel mostly, and to keep safe in house but I am glad I did. The shoulder pack the fly more comes with is not very realistic (VERY tight) and it offers almost no protection. I doubt I’ll use it much.
- MicroSD Card – there are some requirements on the type, the manual describes them very well
The Maiden Flight
I was dying all week to try it out, but this was a rough weekend schedule wise. Luckily my amazing family indulged me and we managed to sneak to Flyer’s Field at Mary Cummins Park in Woburn, MA. This is the field of an AMA club I joined, The Burlington RC Flyers.
The test flight went great. There was some moderate wind (gusts in high teens), but honestly, despite my paranoia about it I couldn’t even feel it when flying. I only had time to do one battery, but I got to fly up and down the field. It was a blast flying 400 feet away and 150 feet in the air (and not even pushing my luck at that).
I also managed to get a few photos and have been having fun processing them on light room. I’ll post a gallery below, but a few examples:
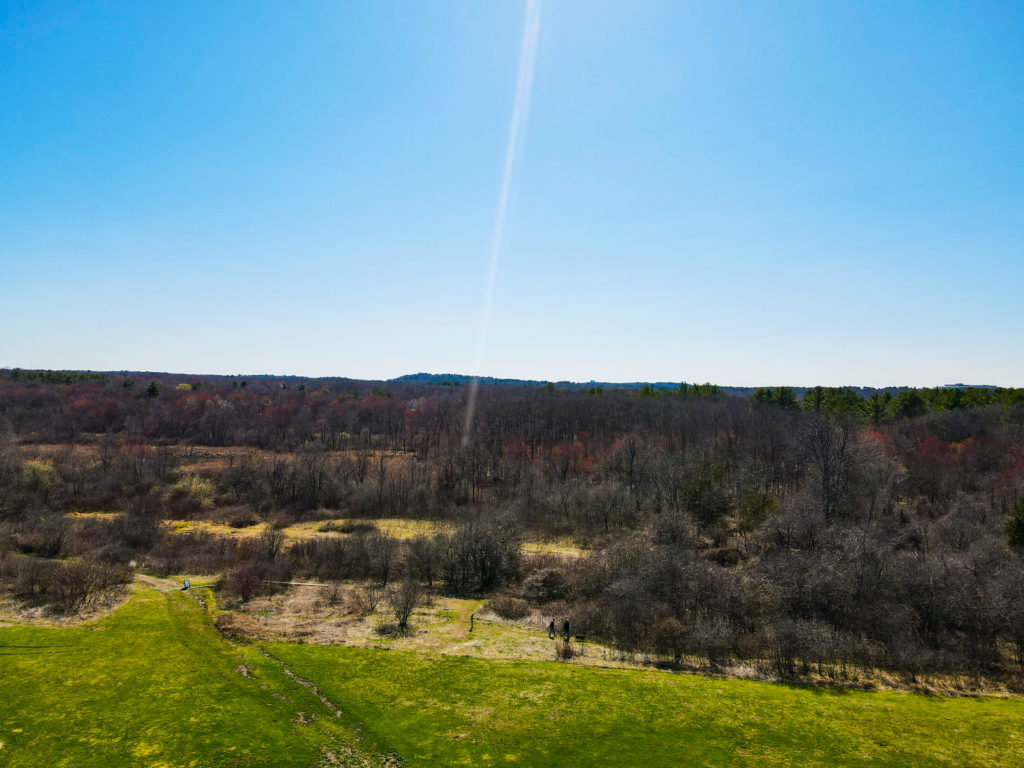
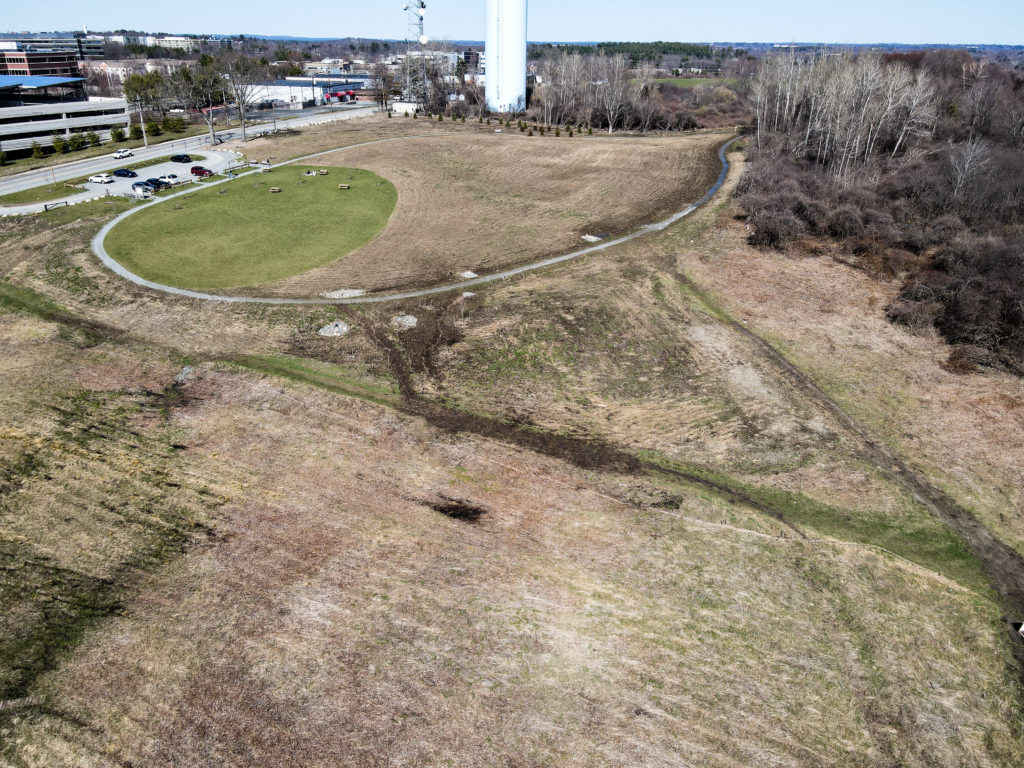
I can’t wait to fly more with it! I am hoping to create a format and start keeping my flight logs and share images here, so this post is probably a bit more all of the place then it will be in the future, but a good time was had!
I posted the photos I took and processed in this gallery!
